The hoster offers us various operating systems as ISO images. They are mounted virtually and installed at the next reboot. All data will be deleted by this!
We take the Linux operating system Ubuntu 20.04 Live Server (amd64). It is a reduced version of Ubuntu Desktop. For example, in the server version there is no graphical user interface and therefore no multimedia software, such as browsers or video players.
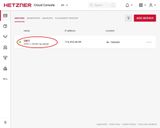
In the Hetzner Cloud, we select the server via the project. Under ISO images we can search for "Ubuntu" and mount the image in the virtual drive.

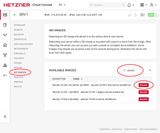
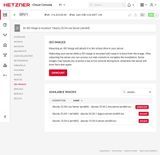
With the next reboot, the Linux distribution is installed.
The ISO-Image must be removed immediately after installation, otherwise the installation routine will be executed again and again.
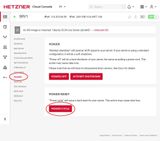
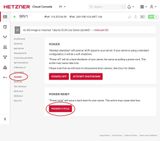
A restart is performed under the menu item "Power". There we can reset the server or switch it off and on again:
To perform the setup, we open the web console and navigate through the installation routine. The web console opens via the >. icon:
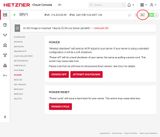


Ubuntu Server Installation
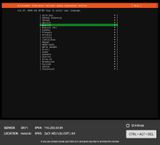
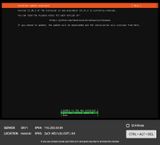
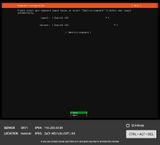
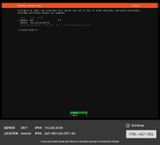
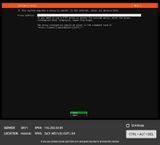
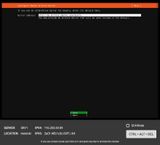
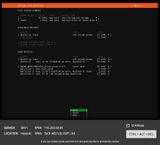
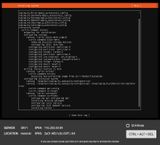
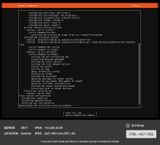
It takes a moment until the image is read in and the installation starts with the language selection. All entries are made with the keyboard. Use the arrow keys and the Tab key to navigate and press Enter to confirm.
- Language
- Is actually only relevant for the installation.
- Installer update available (Version dependent)
- Continue without updating.
- Keyboard configuration
- Switch manually or by "identify keyboard".
- Network connections
- The IP address is determined automatically by DHCP.
- Configure proxy
- Do not specify a proxy address.
- Configure Ubuntu archive mirror
- Accept the default address.
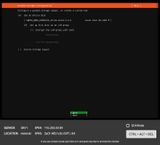
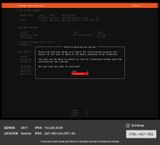
- Guided storage configuration
- Use an entire disc: yes
- Set up this disc as an LVM group: yes
- Storage configuration
- Is just a summary.
- Destructive action
- Confirm with "continue".
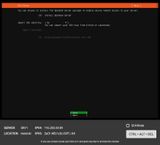
- Profile setup (my data)
- Your name: tom
- Server Name: srv1
- Uenutzername: tom
- Password: *********
- SSH Setup
- Install OpenSSH server: yes
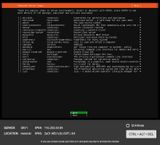
- Featured Server Snaps
- Do not select any server snaps.
- Install system
- Continues automatically.
- Install complete / updating
- The update may take a few minutes. Afterwards do not restart.
- Installation finished
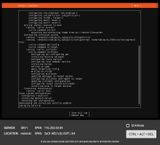
- At this point, do not restart the server (unmount the ISO image first).

Unmount ISO-Image
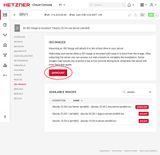
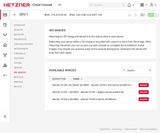
Before we restart the server we have to unmount the ISO image, otherwise the server would run the Ubuntu setup again. In the Hetzner Console under "ISO Images" we eject the image again:
Server restart
After the ISO image has been removed, the server can be restarted via the Hetzner "Power" page. We don't really need the web console anymore, but we can still look at the restart there out of interest. The connection will be interrupted, so we have to reactivate the web console with "connect".

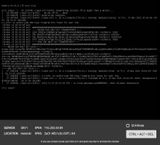
We only needed the web console for setting up Ubuntu. From now on, we will continue to work with native software.